Workspace Management
Gathr provides multi-tenancy support through Workspaces.
A superuser can create multiple workspaces and add users to a workspace. One user can be mapped to multiple workspaces.
Navigation
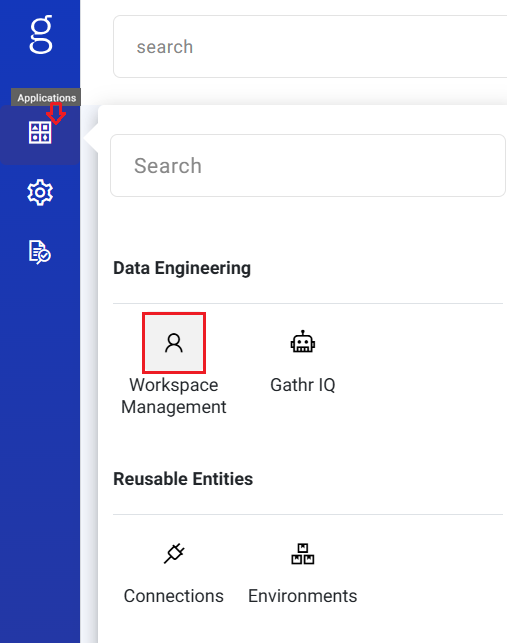
- Go to Applications > Workspace Management from the main menu.
Key Actions
View list of all workspaces
Create a new workspace
Edit workspace details
Switch between workspaces (Switch Workspace →)
Create Workspace
Example: If using LDAP or Okta authentication, you may need to provide a Group Name when creating a workspace. Without an auth provider, you may need to provide User Name, Email Id, and Password.
Steps to create a workspace for Gathr Apache (on premise) environment are as follows:
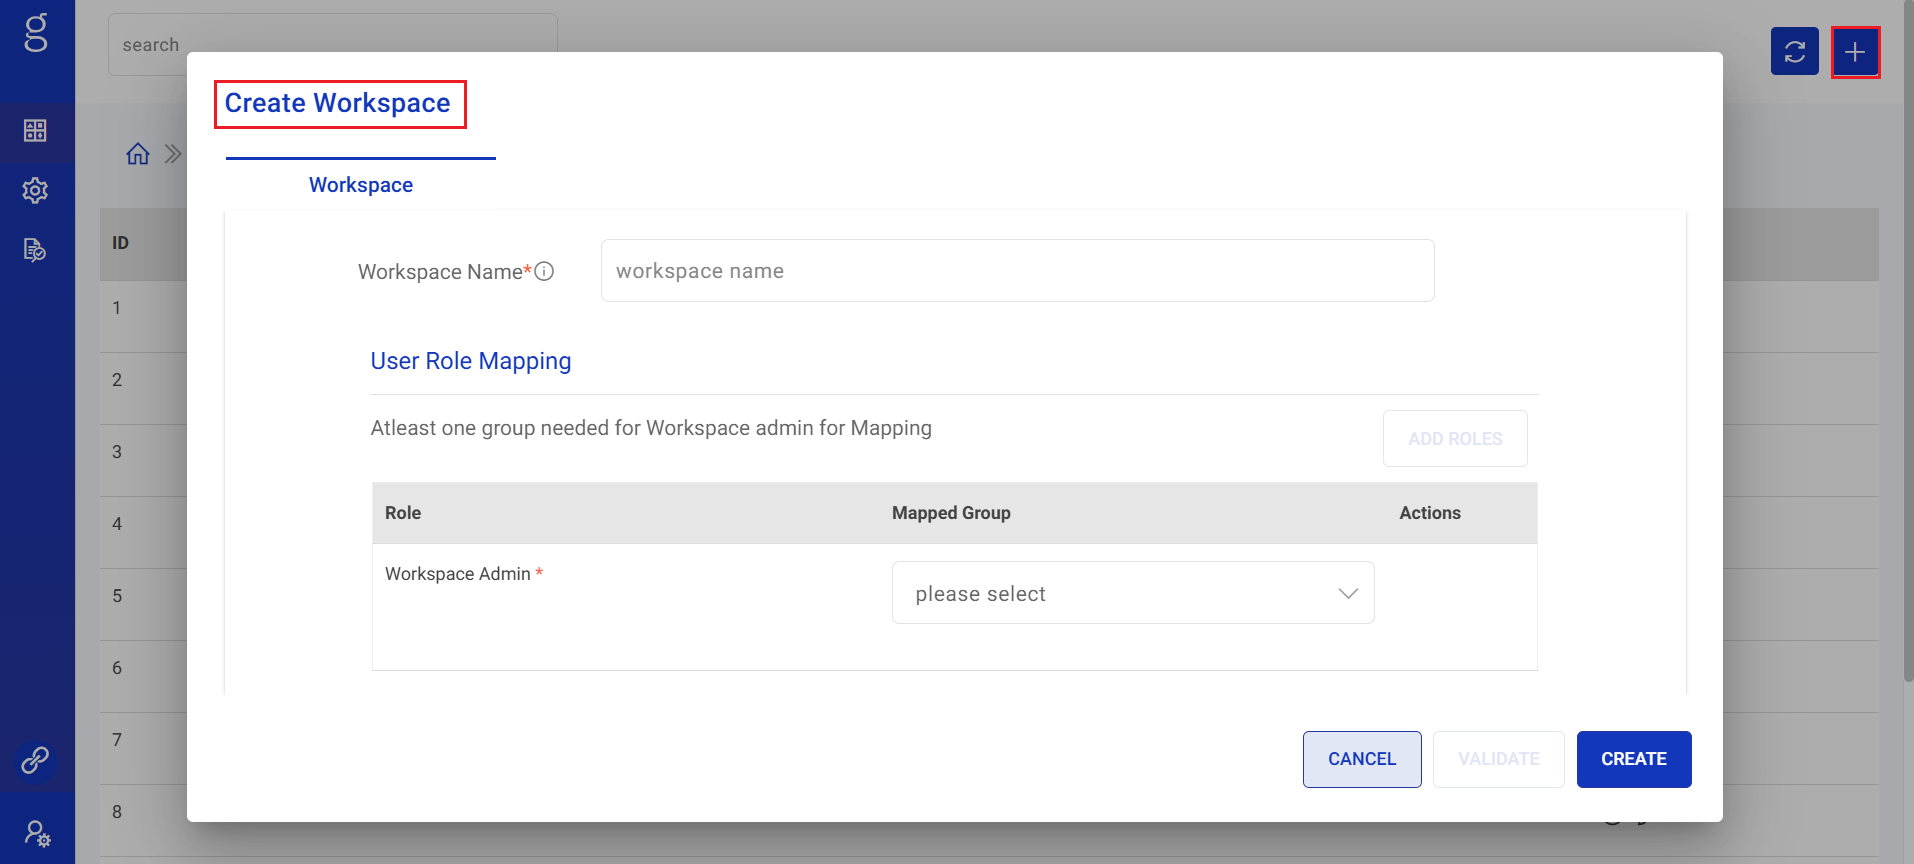
Navigate to Applications > Workspace Management and click on Create New Workspace. (The plus sign on the top right corner)
Enter the following details in the Workspace tab.
Workspace Name: Enter a unique name for your workspace.
User: Choose an option for the users who will be assigned to the Workspace.
Create New User: Enter new user details that will be used to log in the Application.
Existing User: Select user(s) who can access the workspace.
For Existing User(s): Select the user(s) from the dropdown and create the workspace.
For New User: Enter below details:
Username: Enter a username for the new user.
Email Id: Enter an email id that will be used to log in the Application.
Password: Enter a password for the new user.
Confirm Password: Re-type the password for confirmation.
Language: Choose the language, from English (US) and German (DE).
Multiple Workspace: Option to assign the new user access from the dropdown to other workspaces.
- Click Create to save the changes and the new Workspace will be listed in the Manage Workspaces page.
If you have any feedback on Gathr documentation, please email us!