Deploy Gathr on AWS Servers
Deploy Gathr and its essential components, such as Elasticsearch, RabbitMQ, Zookeeper, PostgreSQL, Spark Standalone, and HDFS/YARN, on AWS servers.
Prerequisites
Ensure the following prerequisites to successfully set up and deploy these components.
1. AWS Console Access
User must have sufficient privileges to create and manage the following resources in AWS:
Resource Group
Virtual machines
Virtual Networks
Subnet
Network Security Group
Create IAM user to launch EMR clusters.
Create API Access keys for the IAM user as they will be needed in Gathr application
Launch VPC using subnets. See Steps for Creating VPC using Subnets
Create/Modify security groups. See Creating Security Groups
Create an S3 bucket in the same region used to launch Gathr EC2 node.
Setup Required Roles for EMR. See Setup Roles for EMR
Setup Required role for Gathr EC2. See Setup Role for Gathr WebStudio EC2
Launch EC2 VMs for Gathr WebStudio. See Launch EC2 Instances for Gathr WebStudio
2. Verify Docker and Docker Compose
Ensure that the latest versions of docker and docker compose are installed on Gathr deployment node.
Verify installation:
docker --version

docker compose version

3. System Requirements
- Operating System: The base OS must be RHEL 9 / OEL 9 / Amazon Linux 2023.
- Note: The Docker image includes Debian Linux 11 as its operating system.
Minimum Hardware Specifications:
| Service | CPU | RAM | Disk | Optional |
|---|---|---|---|---|
| Zookeeper | 2 CPU | 4 GB | 20 GB | No |
| Postgres | 2 CPU | 4 GB | 20 GB | No |
| Gathr | 8 CPU | 32 GB | 100 GB | No |
| HAProxy | 1 CPU | 1 GB | 10 GB | Yes |
| Elasticsearch | 2 CPU | 4 GB | 20 GB | Yes |
| RabbitMQ | 1 CPU | 2 GB | 10 GB | Yes |
| Spark Standalone | Custom | Custom | 100 GB | Yes |
| HDFS & YARN | Custom | Custom | 100 GB | Yes |
Additional Requirements:
- HAProxy and Gathr must run on separate machines.
vm.max_map_countvalue should be 262144 in/etc/sysctl.conf- Python3 and pip3 are required on the server.
- OpenJDK8 / OpenJDK17 should be installed on all nodes.
4. PEM File Requirement for HAProxy
- Valid
haproxy.pemfile is required to start HAProxy with SSL. - Note: The HAProxy part can be eliminated if you are using AWS LoadBalancer for load balancing between the Gathr nodes.
5. Ansible Server
- Ansible should be installed on the server from where you will run the playbook.
- SELinux should be disabled on all the servers.
- Password less SSH must be enabled from the Ansible server to the Gathr and HAProxy machines.
- Note: Password less SSH should be configured for the root user on the remote server.
Command to add password less SSH:
Copy ssh key to remote server:
ssh-copy-id root@remote_host
Test ssh passwordless connection:
ssh root@remote_host
6. Shared Location
- Create a shared path (using EFS) that is accessible by the Gathr Nodes.
- The same path shall be mounted on Spark nodes and Gathr Analytics.
7. Port Availability
Below ports should be available on the servers where the respective services are being deployed.
| Service | Ports (Default) | Optional |
|---|---|---|
| Zookeeper | 2181, 2888, 3888, 8081 | No |
| Postgres | 5432 | No |
| Gathr | 8090, 9595 | No |
| HAProxy | 8090, 9596 | Yes |
| Elasticsearch | 9200, 9300 | Yes |
| RabbitMQ | 5672, 15672 | Yes |
| Spark Standalone | 7077, 8080, 8081, 6066, 18080 | Yes |
| HDFS & YARN (Non-HA) | 8020, 9870, 9864, 9866, 9867, 8141, 8088, 8030, 8025, 8050, 8042, 8040, 19888, 10020, 10033 | Yes |
| HDFS & YARN (HA) | 8485, 8480, 8020, 50070, 8019, 9866, 9867, 50075, 8141, 8088, 8030, 8025, 8050, 8042, 8040, 19888, 10020, 10033 | Yes |
8. User Permissions for Docker
Create an application user on the server with password-based authentication.
Note: The UID and GID for this user must be the same across all machines.
The docker and docker compose commands should be accessible by this application user.
Ensure the application user is part of the docker group.
Verify the user’s group membership:
id <username>

Confirm Docker commands are working:
docker ps
9. Local Volume for Gathr Data
A local directory is required to store Gathr data. Note: This path should be accessible on the Gathr nodes.
mkdir -p /shared/path/gathr-volume
10. (Optional) OpenAI API Key Requirement
- An OpenAI API key is required to use the Gathr IQ feature.
- Internet access is mandatory for this feature to function.
11. (Optional) Data Intelligence DI:
Shared Storage for Logs and Data (Optional for single-node setups)
- Configure a shared mount (EFS/NFS) on the Docker-installed machine to store and manage DI application logs and data efficiently.
Logstash Configuration
- Install and configure Logstash (version 6.8.23) on the chosen node, ensuring it is seamlessly integrated with the designated Elasticsearch instance.
- Additionally, configure Logstash to process logs from the DI log directory for efficient log management.
- Logstash service should run on the same node where DI application logs are stored.
Access Control for Gathr User
- Make sure Gathr user has access to read DI Docker logs.
- If proper access is not there then, set up ACL permissions to grant the Gathr user the necessary access to read logs generated by the DI Docker environment.
Load Balancer for Multi-DI Deployments (Optional for single node DI Docker)
- Configure a private load balancer to efficiently handle multi-DI Docker deployments, ensuring it listens to the port specified in the Gathr configuration and routes traffic to the deployed container instances.
AWS CloudWatch Integration (Applicable for AWS Deployments Only)
- Set up and configure AWS CloudWatch along with the CloudWatch Agent to enable seamless log monitoring and analysis in the AWS environment.
12. (Optional) For MLflow
Ensure you have a private docker registry and Gathr team will provide the MLflow related images. Load those images in your repository.
K8s Cluster should be up and running.
Artifact Storage Configuration:
- MLFlow generates artifacts when a model is registered, which can be stored in either S3 or NFS.
- If you use S3 or Ceph for artifact storage, ensure you have the following credentials:
- S3 Access Key
- S3 Secret Key
- S3 Endpoint URL
If using NFS, make sure you have the PVC (Persistent Volume Claim) name that the Gathr pod is using to share the path between the Gathr and MLFlow pods.
(Optional) Private Docker Registry Access should be available to pull from the private docker repository.
Steps to Install Gathr using Playbook
Download the playbook bundle shared by the Gathr team on Ansible server.
Untar the bundle using below command:
tar -xzf GathrBundle.tar.gzGo to the Playbook Path.
cd /path/to/playbook(Optional) If you want to add any host entries inside the Gathr Container, you can create a file named
hostsand place it inside packages folder of our playbook.Example:
vim packages/hostsAdd entries like:
10.0.0.1 gathr-node1
10.0.0.2 gathr-node2
Save the file.
(Optional) Copy
haproxy.pemfile insidepackages/folder. This pem file will be used to enable SSL on HAProxy.Update the properties in the
gathr.propertiesfile. Please ensure all the properties are correctly filled.We have attached a sample
gathr.propertiesfile with useful comments for each property to guide you in providing the appropriate values.Once the above file is updated, run
config.shto reload the ansible variables. Use below command:./config.sh gathr.propertiesRun the playbook
You can run the playbook using one of the following methods:
To install all components at once: Run the following command to install all components in a single execution:
ansible-playbook -i hosts gathr_one.yaml -vTo install components individually: If you prefer to install components one by one, use the respective commands:
To install PostgreSQL:
ansible-playbook -i hosts postgres.yml -vTo install Zookeeper:
ansible-playbook -i hosts zookeeper.yml -vTo install Gathr:
ansible-playbook -i hosts gathr_saas_ul_HA.yml -vTo install HAProxy (Exclude it if using AWS LoadBalancer):
ansible-playbook -i hosts haproxy.yml -vTo install RabbitMQ:
ansible-playbook -i hosts rabbitmq.yml -vTo install Elasticsearch:
ansible-playbook -i hosts elasticsearch.yml -vTo install Spark Standalone:
ansible-playbook -i hosts spark.yml -vTo install HDFS and YARN:
ansible-playbook -i hosts hadoop.yml -vTo install Klera:
ansible-playbook -i hosts klera.yml -v
Post Deployment Validation
Navigate to the Gathr UI using the URL
http://<GATHR_HOST>:8090/. When the interface loads, a license agreement page will display: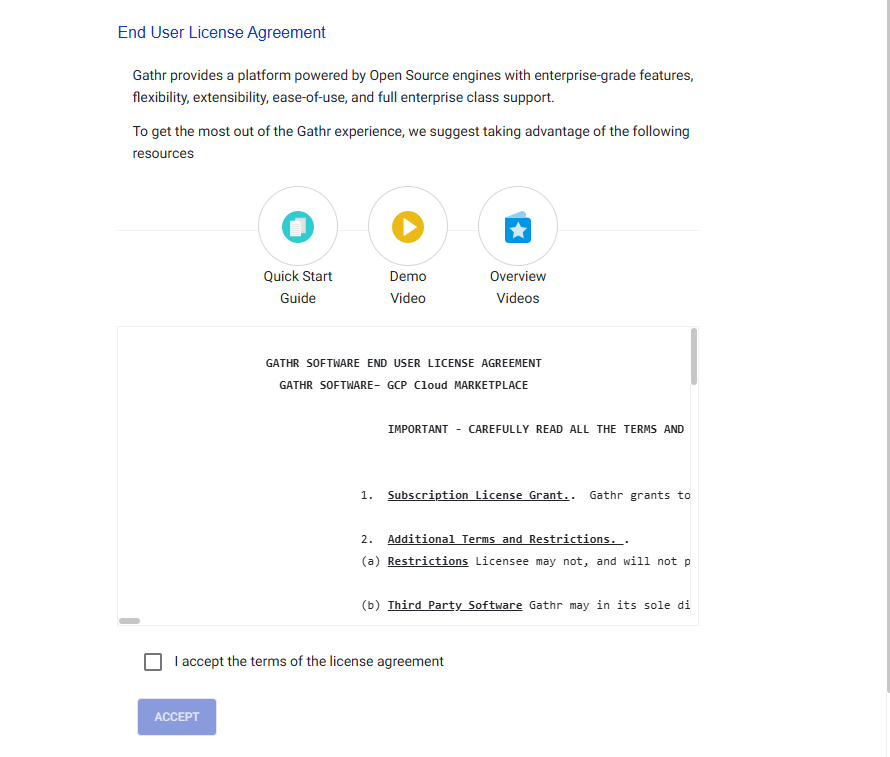
Check the “I accept” box and click the “Accept” button.
The Upload License page will then be visible:

Upload your valid Gathr license and click “Confirm”.
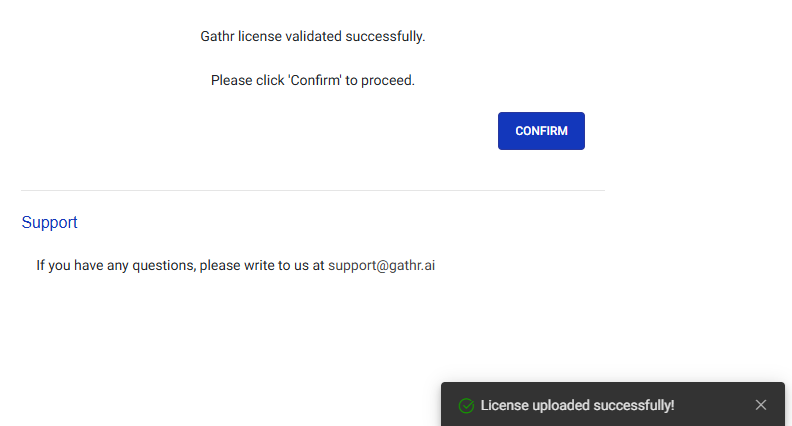
Proceed by clicking “Continue” on the welcome page:
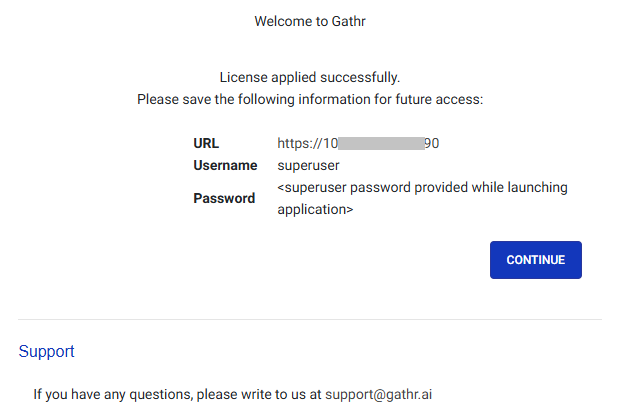
This will lead you to the Login Page:
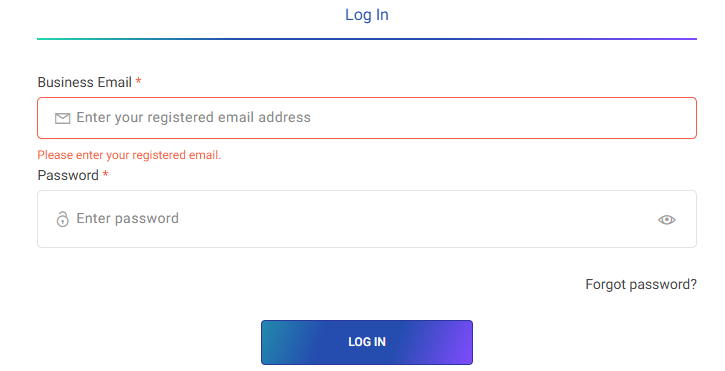
Log in using the default superuser credentials:
Email: super@mailinator.com
Password: superuser
The deployment of Gathr is now complete.
References
Steps for Creating VPC using Subnets
NOTE: VPC creation is only required if the user does not plan to launch this AMI in an existing VPC. Even if the user does not create a VPC, make sure that the existing VPC has the setup as described below.
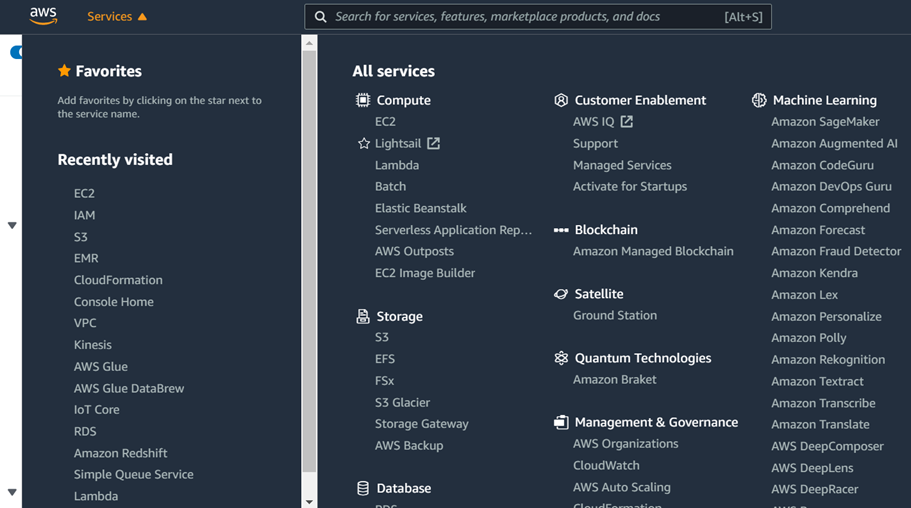
Click the Services drop-down and search for VPC.
Click Start VPC Wizard and select VPC with Public and Private Subnets.

Make sure that the Public and Private subnets are in the same Availability Zone.
Public Subnet that has Internet gateway access for Gathr web interface.
Private Subnet for Gathr application.

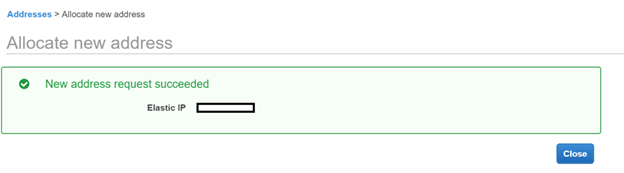
Create a new Elastic IP for the NAT Gateway.
Click Create VPC.
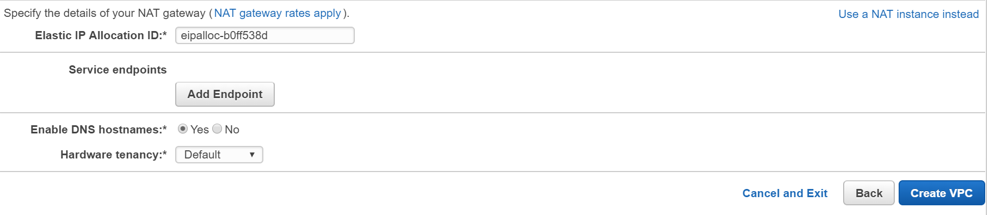
VPC is now created.

Creating Security Groups
Below ports need to be opened in the VM security group.
| Service | Ports (Default) | Optional |
|---|---|---|
| Zookeeper | 2181, 2888, 3888, 8081 | No |
| Postgres | 5432 | No |
| Gathr | 8090, 9595 | No |
| HAProxy | 8090, 9596 | No |
| Elasticsearch | 9200, 9300 | Yes |
| RabbitMQ | 5672, 15672 | Yes |
| Spark Standalone | 7077, 8080, 8081, 6066, 18080 | Yes |
| HDFS & YARN (Non-HA) | 8020, 9870, 9864, 9866, 9867, 8141, 8088, 8030, 8025, 8050, 8042, 8040, 19888, 10020, 10033 | Yes |
| HDFS & YARN (HA) | 8485, 8480, 8020, 50070, 8019, 9866, 9867, 50075, 8141, 8088, 8030, 8025, 8050, 8042, 8040, 19888, 10020, 10033 | Yes |
Create the following security groups:
SAX-WebServerSecurityGroup with following permissions:
Inbound:

Outbound:
- Allow all traffic to 0.0.0.0/0

SAX-SAXEMR-SecurityGroup with following permissions:
Inbound:

Outbound:
- Allow all traffic to 0.0.0.0/0

Setup Roles for EMR
You need to create three IAM roles “EMR_AutoScaling_DefaultRole”, “EMR_DefaultRole”, “EMR_EC2_DefaultRole”. These roles will be available as configuration values when you are creating an EMR cluster in Gathr.
There are two ways of creating the EMR roles:
Create EMR Cluster - This will automatically create the required EMR roles.
- If you have never created an EMR cluster, create one in AWS console. It will create the necessary IAM roles in your AWS account.
Create the EMR roles manually
Create IAM Role: “EMR_AutoScaling_DefaultRole”
Add the following policies:
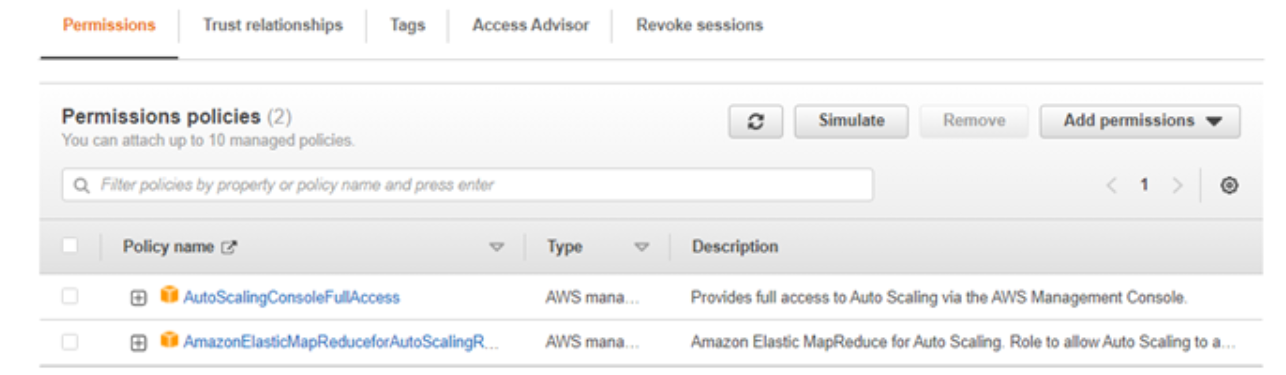
Trust Relationship:
{
  "Version": "2012-10-17",
  "Statement": [
    {
      "Effect": "Allow",
      "Principal": {
        "Service": [
          "application-autoscaling.amazonaws.com",
          "elasticmapreduce.amazonaws.com",
          "ec2.amazonaws.com"
        ]
      },
      "Action": "sts:AssumeRole"
    }
  ]
}
Create IAM Role: “EMR_DefaultRole”
Add the following policies:
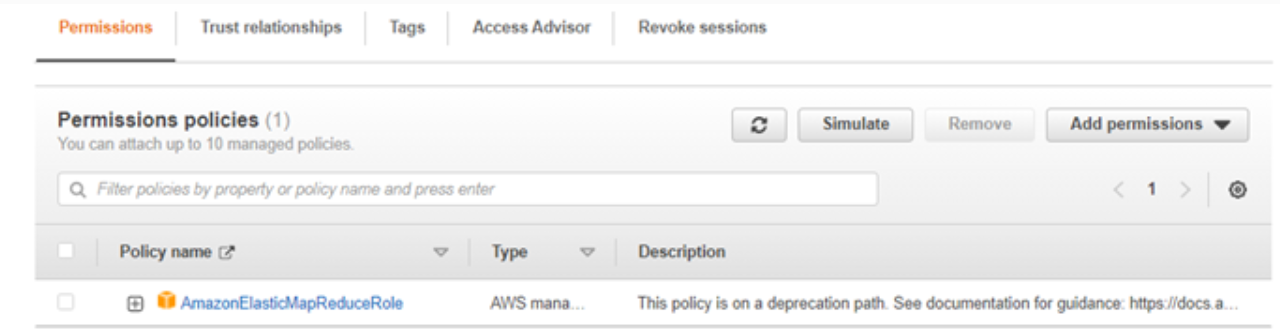
Trust Relationship:
{
  "Version": "2008-10-17",
  "Statement": [
    {
      "Sid": "",
      "Effect": "Allow",
      "Principal": {
        "Service": "elasticmapreduce.amazonaws.com"
      },
      "Action": "sts:AssumeRole"
    }
  ]
}
Create IAM Role: “EMR_EC2_DefaultRole”
Add the following policies:
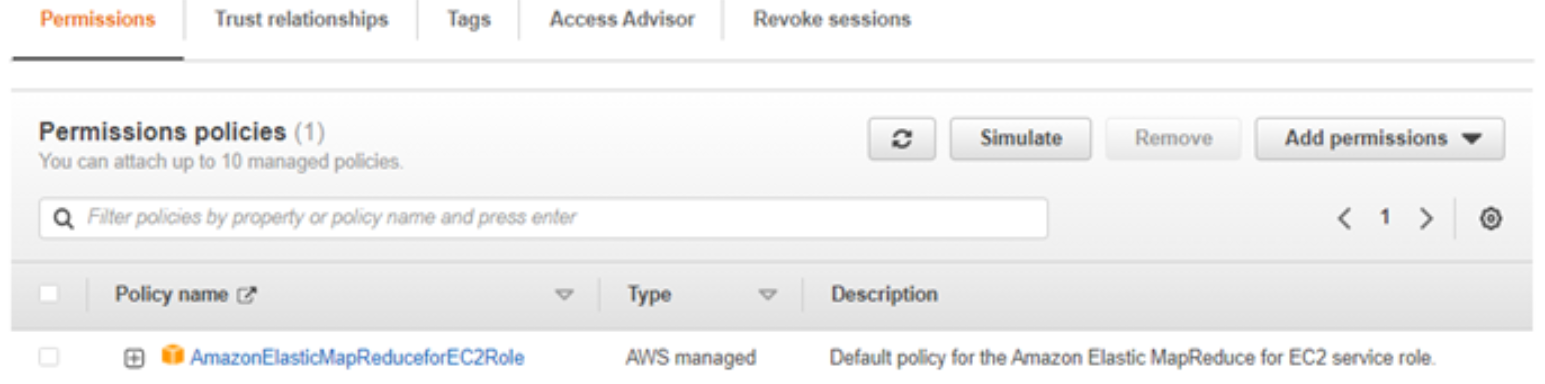
Trust Relationship:
{
  "Version": "2012-10-17",
  "Statement": [
    {
      "Effect": "Allow",
      "Principal": {
        "Service": "ec2.amazonaws.com"
      },
      "Action": "sts:AssumeRole"
    }
  ]
}
Setup Role for Gathr WebStudio EC2
Create IAM Role “GathrWebstudio_EC2Role” with the following inline JSON policy:
{
  "Version": "2012-10-17",
  "Statement": [
    {
      "Sid": "VisualEditor1",
      "Effect": "Allow",
      "Action": [
        "ec2:*",
        "kms:ListKeyPolicies",
        "kms:ListRetirableGrants",
        "kms:ListAliases",
        "kms:ListGrants",
        "iam:GetPolicyVersion",
        "iam:GetPolicy",
        "s3:ListAllMyBuckets",
        "iam:ListRoles",
        "sts:AssumeRole",
        "elasticmapreduce:*"
      ],
      "Resource": "*"
    },
    {
      "Sid": "VisualEditor2",
      "Effect": "Allow",
      "Action": [
        "s3:PutObject",
        "s3:GetObject",
        "iam:PassRole",
        "s3:ListBucket",
        "s3:DeleteObject"
      ],
      "Resource": [
        "arn:aws:iam::<AWS_Account_ID>:role/EMR_EC2_DefaultRole",
        "arn:aws:iam::<AWS_Account_ID>:role/EMR_DefaultRole",
        "arn:aws:iam::<AWS_Account_ID>:role/EMR_AutoScaling_DefaultRole",
        "arn:aws:s3:::<S3_Metadata_Bucket_Name>/*",
        "arn:aws:s3:::<S3_Metadata_Bucket_Name>"
      ]
    }
  ]
}
Trust Relationship:
{
  "Version": "2012-10-17",
  "Statement": [
    {
      "Effect": "Allow",
      "Principal": {
        "Service": "ec2.amazonaws.com"
      },
      "Action": "sts:AssumeRole"
    }
  ]
}
Launch EC2 Instances for Gathr WebStudio
Choose the AMI:
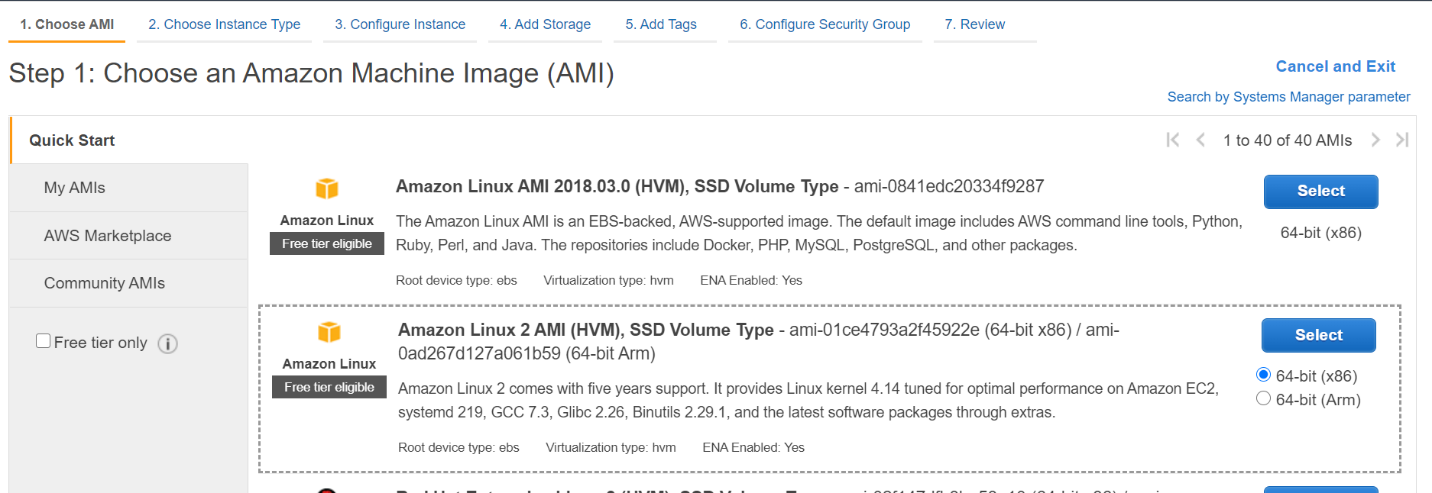
- Select AMI of any of the preferred OS – RHEL9 / OEL9 / Amazon Linux 2023
Choose Instance Type:
- Select instance type m5.2xlarge or larger.

Configure Instance:
VPC: Select a pre-created VPC from drop down
Subnet: Select pre-created subnet from drop down
Auto-assign IP: Enable
IAM role: Select “GathrWebstudio_EC2Role” which you created earlier
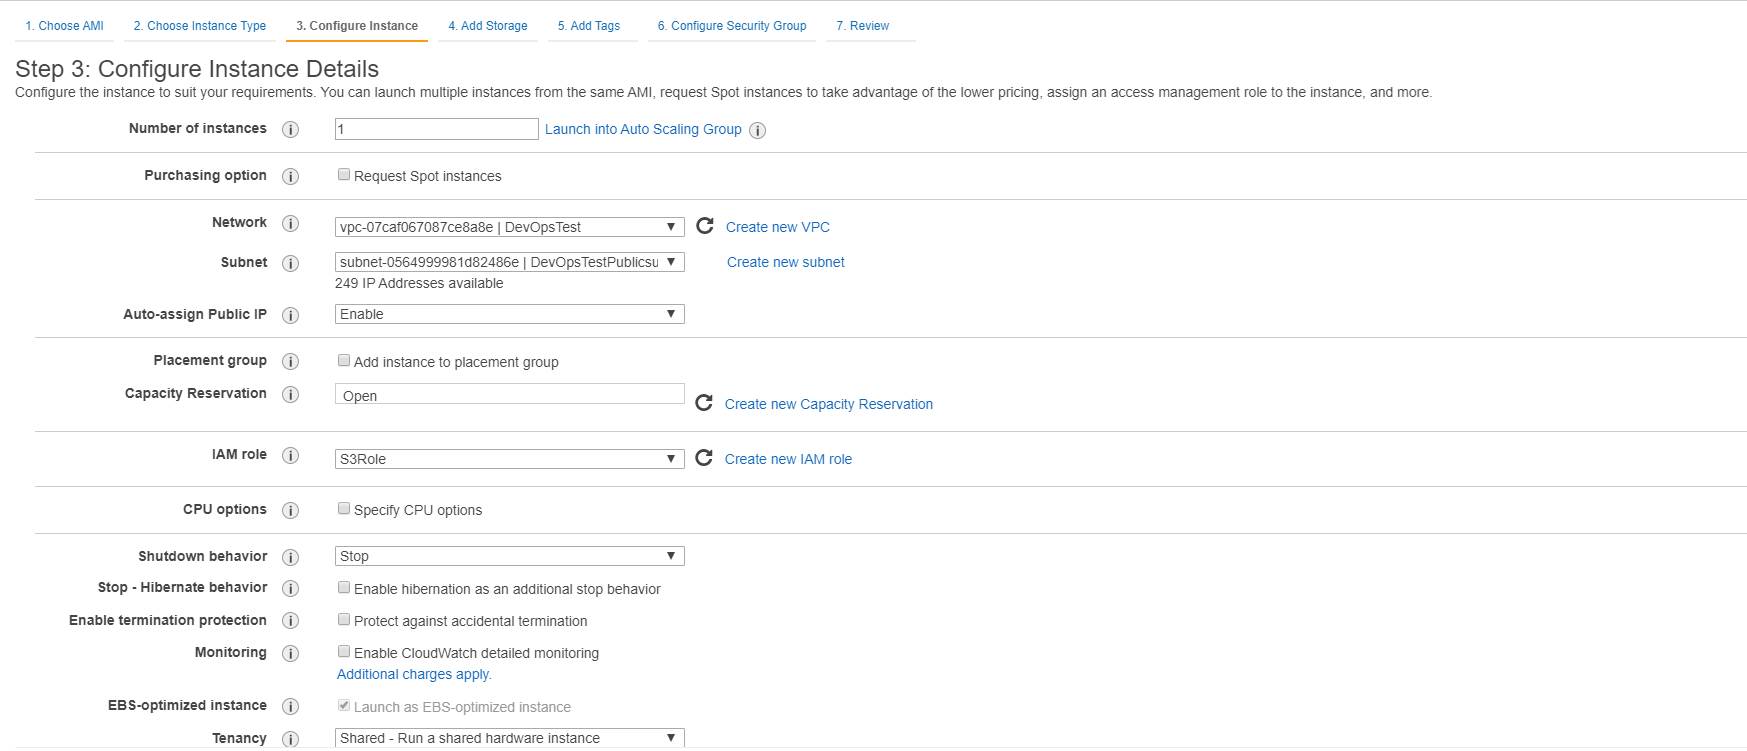
Click Next on Network Interface.
Add Storage:
- On Add Storage tab, provide 100 GB or more storage.

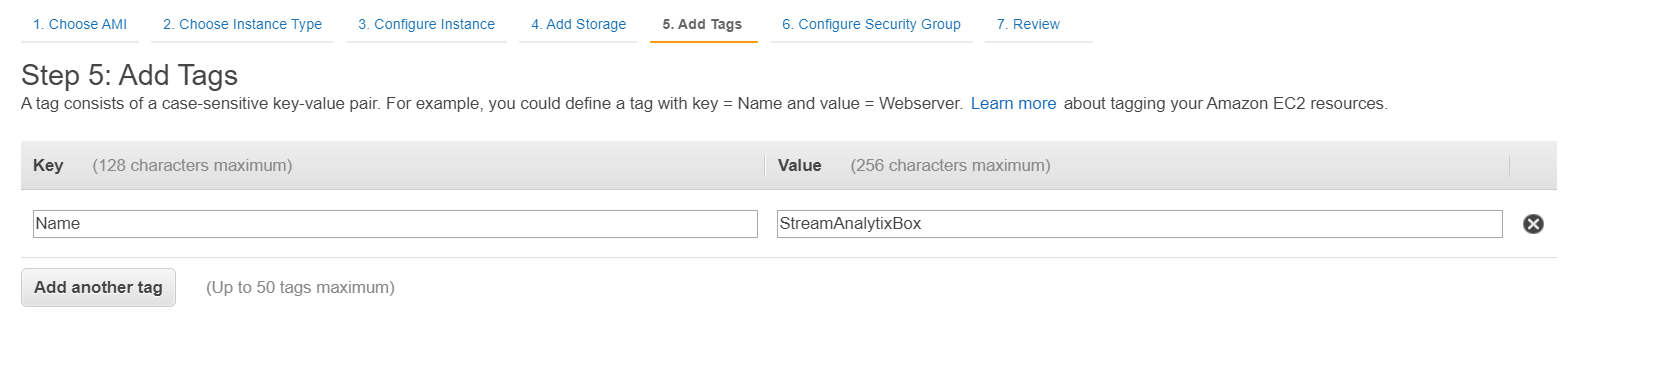
Add Tags:
- Provide a Name to the EC2 instance.
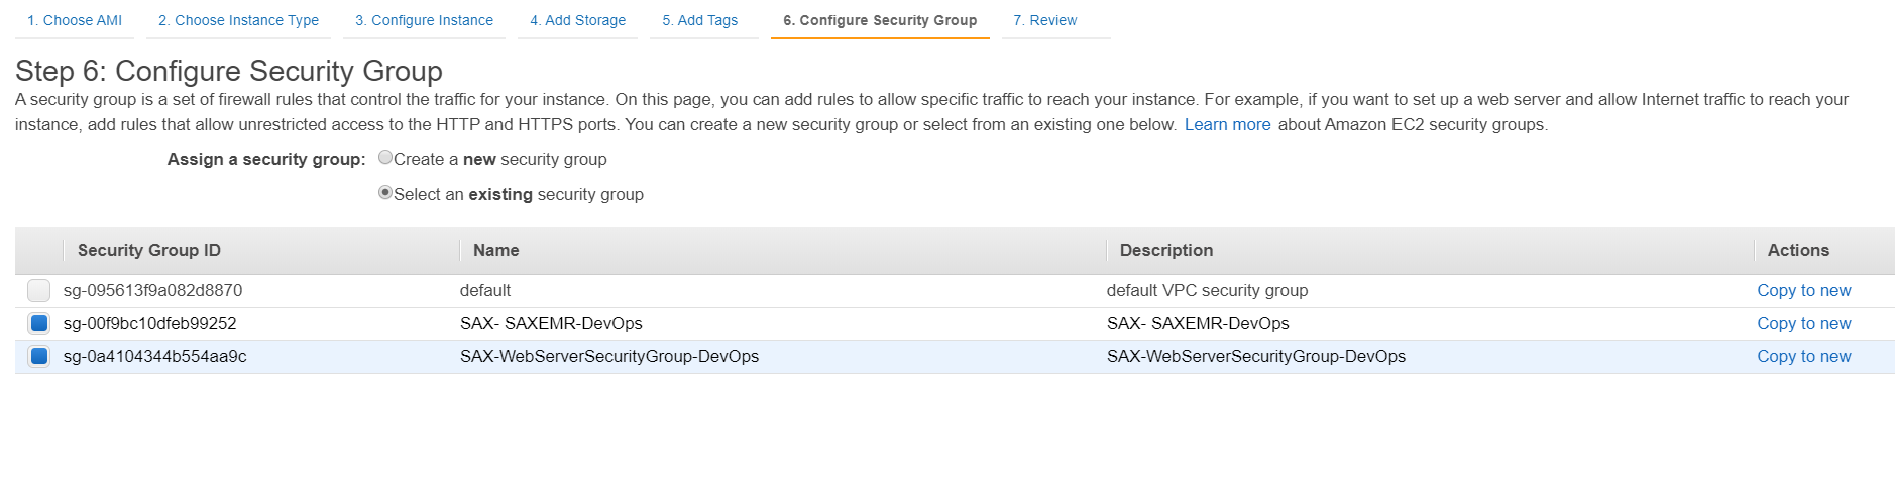
Configure Security Group:
- Select previously created security groups: ‘SAX-WebServerSecurityGroup’ and ‘SAX-SAXEMR-SecurityGroup’.
Review and Launch:
- Review settings and Launch instance by providing the PEM file.
Associate Elastic IP address (Optional):
Select ’eth0’ as network interface.
Select Private IP of the instance.
If you have any feedback on Gathr documentation, please email us!