Deploy MLflow Model to Production
Migrating an MLflow model ensures that your model, which has been tested and validated in a staging environment, is now ready to be used in a live production setting where it can deliver real business value.
This migration process involves moving the model artifacts and associated metadata from one environment to another and can vary based on the configuration of your Docker registries.
Case 1: Different Docker Registries in Both Environments
Migrate MLflow models from a staging environment (Env1) to a production environment (Env2) when they use different Docker registries. Please follow these steps:
Steps for Staging Environment (Env1)
Access the terminal of the staging environment’s Webstudio node using SSH.
Command:
ssh <gathr-user>@IPReplace
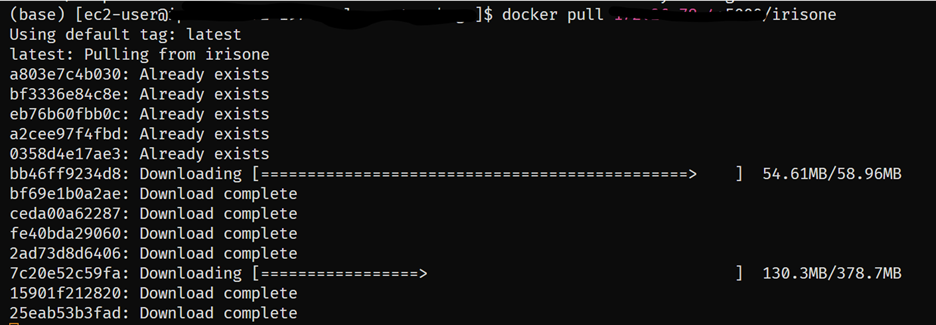
<gathr-user>with your username andIPwith the IP address of the staging environment’s node.Retrieve the Docker image from the Docker registry used in the staging environment.
Command:
docker pull <registryURL>/<image-name>:<tag>Replace
<registryURL>with the Docker registry URL of Env1,<image-name>with the name of the image, and<tag>with the specific tag/version of the image.Example:
Save Docker Image to a Tarball File:
Change to the directory where you want to save the Docker image.
Command:
cd /home/<gathr-user>/mlflowdockerSave the Docker image as a tarball file.
Command:
docker save -o <image-name>.tar <image-name>:<tag>This command creates a file named <image-name>.tar in the current directory.
Copy Docker Image File to Production:
Use SCP to transfer the tarball file to the production environment.
Command:
cd /home/<gathr-user>/ mlflowdocker
scp <image-name>.tar <ssh-user>@<prod-server-hostname>: /home/<gathr-user>/mlflowdocker
Replace
<ssh-user>with your username on the production server and<prod-server-hostname>with the hostname or IP address of the production server.Example:

Once copying is started, you will see its progress as below :
Example:

Steps for Production Environment (Env2)
Access the terminal of the production environment’s Webstudio node using SSH.
Command:
ssh <gathr-user>@IPReplace
<gathr-user>with your username andIPwith the IP address of the production environment’s node.Load Docker Image:
Navigate to the Directory.
Command:
cd /home/<gathr-user>/mlflowdockerReplace
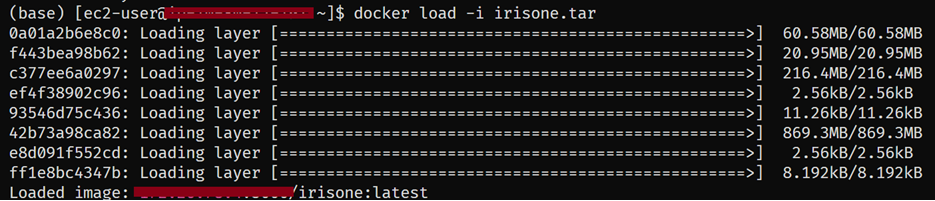
<gathr-user>with your username.Load the Docker Image from the Tarball.
Command:
docker load -i <image-name>.tarReplace
<image-name>with the name of your Docker image.Example:
Tag Docker Image:
Tag the Docker Image for the Production Registry.
Command:
docker tag <image-name>:<tag> <prod-registry>/<image-name>:<tag>Replace
<image-name>with the name of your Docker image.Replace
<tag>with the image tag (e.g., latest).Replace
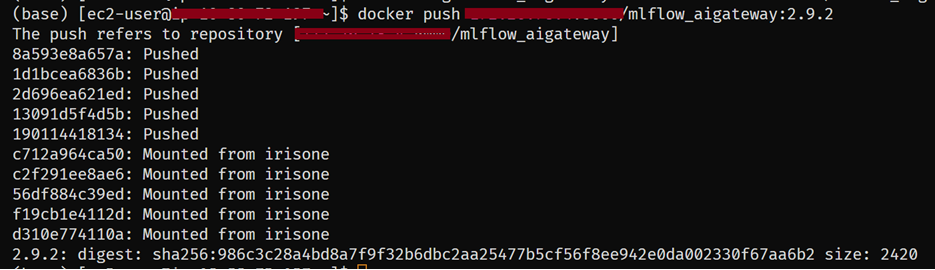
<prod-registry>with the URL of the production Docker registry.Push the Docker Image to the Production Registry.
Command:
docker push <prod-registry>/<image-name>:<tag>Replace
<prod-registry>,<image-name>, and<tag>with the appropriate values.Example:
Alternatively, for steps 2, 3, and 4 run the script to automate steps: loadtagpushimage.sh
For registering Model in Prod MLFlow server, Gathr support team will provide docker image setup & script that can register model in Mflow server.The Gathr team needs a Python script and model weight artifacts. Using these, they can build a Docker image that includes all necessary dependencies for registering the model on demand. Once the Docker image is created, it can be included in the main setup tar bundle for deployment.Update
FoundationModel.json.Navigate to the Directory.
Command:
cd /home/<gathr-user>/mlflowdockerReplace
with your username.
Run the Script to Edit
FoundationModel.json:./editFoundationModelJSON.shExample Content of
FoundationModel.json:{ "modelName": "<model-name>", "modelTag": "latest", "modelVersion": 1, "imageName": "<image-name>" },Replace
<model-name>with the name of your model.Replace
<image-name>with the name of your Docker image.
After a model is deployed, add its entry in the
config.yamlof AIGateway.Navigate to the Directory.
Command:
cd /home/<gathr-user>/mlflowdockerReplace
<gathr-user>with your username.
Run the Script to Edit
config.yamlof AI Gateway:Command:
editAIGatewayConfig.shExample Content of config.yaml:
endpoints: - name: <endpoint-name> endpoint_type: <endpoint-type> model: provider: mlflow-model-serving name: <model-name> config: model_server_url: http://<server-address>Replace
<endpoint-name>with the name you want for the endpoint.Replace
<endpoint-type>with the appropriate endpoint type (Example: llm/v1/completions).Replace
<model-name>with the name of your model.Replace
<server-address>with the actual address of your model server.
Case 2: Same Docker Registry in Both Environments
If the staging and production environments use the same Docker registries, follow these steps to deploy your model to production:
Steps for Production Environment (Env 2)
- For registering Model in Prod MLFlow server, Gathr support team will provide a docker image setup and a script to register model in Mflow server.
- Update
FoundationModel.jsonusing below steps:
Navigate to the Directory.
Command:
cd /home/<gathr-user>/mlflowdockerEdit
FoundationModel.jsonusing the Script:./editFoundationModelJSON.shExample:
{
    "modelName": "<model-name>",
    "modelTag": "latest",
    "modelVersion": 1,
    "imageName": "<image-name>"
},
Replace
<model-name>,<image-name>, and other placeholders with actual values.
Once the model is deployed, update the config.yaml for AI Gateway.
Navigate to the Directory.
Command:
cd /home/<gathr-user>/mlflowdockerEdit
config.yamlusing the Script:./editAIGatewayConfig.shExample config.yaml Content:
endpoints:
  - name: <endpoint-name>
    endpoint_type: llm/v1/completions
    model:
      provider: mlflow-model-serving
      name: <model-name>
      config:
        model_server_url: http://<server-address>
Replace
<endpoint-name>,<model-name>, and<server-address>with the appropriate values.
These steps ensure that the necessary configurations are updated and that the model is correctly registered and accessible in the production environment.
TEMPLATES
Refer below templates to create your own model python file. (.py file).
Notes:
Ensure the model weight path is
/opt/models/mlflowmodel/modelweightin the .py files.Below section is mandatory in any .py file:
import mlflow
import os
tracking_uri = os.getenv('MLFLOW_TRACKING_URL')
mlflow.set_tracking_uri(tracking_uri)
Template For Completion Model (example: BART)
#!/usr/bin/env python
# coding: utf-8

import torch
from datasets import Dataset, load_dataset

MODEL_NAME = "philschmid/bart-large-cnn-samsum"

from transformers import (
BartForConditionalGeneration,
BartTokenizer,
BitsAndBytesConfig,
TrainingArguments,
)

model_path = "/opt/models/mlflowmodel/modelweight"

# Load model
model = BartForConditionalGeneration.from_pretrained(model_path)
tokenizer = BartTokenizer.from_pretrained(model_path)


DEFAULT_SYSTEM_PROMPT = """

""".strip()

def generate_prompt_inference(
statement: str, system_prompt: str  = DEFAULT_SYSTEM_PROMPT
) -> str:
return f"""### Instruction: {system_prompt}

### Input:
{statement.strip()}

### Response:
""".strip()


import mlflow
from mlflow.models import infer_signature

# Define model signature including params
input_example = {"prompt": generate_prompt_inference("India has 28 states and 8 union territories with different cultures and is the most populated country in the world.[17] The Indian culture, often labeled as an amalgamation of several various cultures, spans across the Indian subcontinent and has been influenced and shaped by a history that is several thousand years old. ")}
inference_config = {
"temperature": 1.0,
"max_new_tokens": 100,
"do_sample": True,
}

## #Define model  signature, input and output schema with prams
signature = infer_signature(
model_input=input_example,
model_output="SQL generated is ...",
params=inference_config
)


import mlflow
import os
tracking_uri = os.getenv('MLFLOW_TRACKING_URL')
mlflow.set_tracking_uri(tracking_uri)

## Register the model in mlflow, provide artifact information such as task type, pip requirement with version, input example and any additional metadata
with mlflow.start_run(run_name="bart-large-cnn-samsum_completions") as run:
mlflow.transformers.log_model(
transformers_model={
"model": model,
"tokenizer": tokenizer,
},
task="summarization",
artifact_path="model",
pip_requirements=["torch", "transformers"],
input_example=input_example,
signature=signature,
# Add the metadata task so that the model serving endpoint created later will be optimized
metadata={"task": "llm/v1/completions"},
registered_model_name="bart-large-cnn-samsum_completions"
)
model_uri = mlflow.get_artifact_uri("model")
mlflow.end_run()
Template for EMBEDDING MODEL (example: BERT (MPNET))
#!/usr/bin/env python
# coding: utf-8

from sentence_transformers import SentenceTransformer
import mlflow

# register in MLFlow

import mlflow
import os
tracking_uri = os.getenv('MLFLOW_TRACKING_URL')
mlflow.set_tracking_uri(tracking_uri)

Registered_model = "all-mpnet-base-v2_embedding"

tags={"gathr": "foundation_model"}
description="This is a sentence-transformers model: It maps sentences & paragraphs to a 768 dimensional dense vector space and can be used for tasks like clustering or semantic search."


# Define Model Path to load the model

modelPath = "/opt/models/mlflowmodel/modelweight"
model = SentenceTransformer(modelPath)


# Register model in mlflow

sentences = ["This is an example sentence", "Each sentence is converted"]
# Define model  signature, input and output schema with prams
signature = mlflow.models.infer_signature(
    model_input=sentences,
    model_output=model.encode(sentences),
)

## Register the model in mlflow, provide artifact information such as task type, pip requirement with version, input example and any additional metadata

with mlflow.start_run(run_name="all-mpnet-base-v2_embedding",tags=tags,description=description) as run:
    mlflow.sentence_transformers.log_model(
        model=model,
        artifact_path="all_mpnet_base_v2_embedding",
        pip_requirements=["torch==2.2.1", "transformers==4.37.1", "accelerate==0.26.1", "sentence-transformers== 2.5.1"],
        signature=signature,
        input_example=sentences,
        metadata={"task": "llm/v1/embedding"},
        registered_model_name="all-mpnet-base-v2_embedding"
    )
    model_uri = mlflow.get_artifact_uri()
mlflow.end_run()
If you have any feedback on Gathr documentation, please email us!