Milvus Cluster Installation on Kubernetes (Using Helm)
This document covers the steps to install Milvus Cluster on Kubernetes (using Helm):
Download the setup bundle.
Download the milvus cluster offline setup tar bundle.
offline-milvus-cluster.tar.gz
Load all docker images provided as tar.
$ cd images
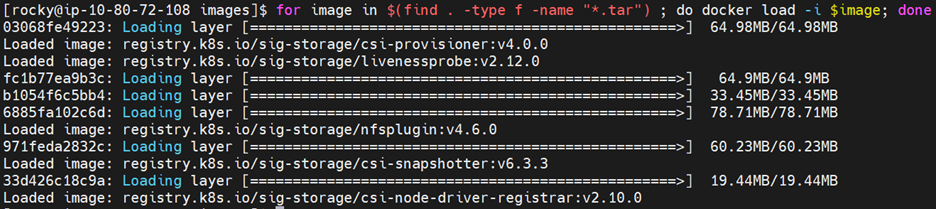
$ for image in $(find . -type f -name "*.tar") ; do docker load -i $image; done
The output will appear as below:
Verify by command “docker images”
The output will appear as below:

Push all docker images to private docker registry.
Follow below steps for pushing images to private registry.
Collect details of docker registry host and port, login username and password.
Create a Kubernetes secret using below command:
$ kubectl create secret docker-registry <secret_name> --docker-server=<register_server_host>:<registry_server_port> --docker-username=<username> --docker-password=<password>
For an example:
$ kubectl create secret docker-registry regcred --docker-server=192.1.1.1:5000 --docker-username=demo --docker-password=demo
The above command will create in default namespace, for creating it in kube-system namespace run same command by appending “-n kube-system”
Example:
$ kubectl create secret docker-registry regcred --docker-server=192.1.1.1:5000 --docker-username=demo --docker-password=demo -n kube-system
Tag and push docker images
First create a folder to storing docker registry crt file.
$ sudo mkdir -p /etc/docker/certs.d/<registry_host>:<port>
Copy the crt file of registry server to above location.
Now do docker login to registry server using the below command.
$ docker login <registry_host>:<port>
You will get the below output:

For tagging and pushing docker images, we have one script, execute the script with 2 arguments – registry host and registry port.
$ ./push_images.sh <registry_host> <registry_port>
It will tag and push all images in your private registry that you have loaded already.
Install NFS CSI Driver.
Use the below command to install NFS driver.
$ cd csi-driver-nfs/deploy
You will be required to execute 1 script that will change the image repository as per the private docker registry.
$ ./update_repo.sh <registry_host> <registry_port> <secret_name>
Install the NFS CSI Driver
$ cd ..

$ ./deploy/install-driver.sh v4.6.0 local
Output:

Check pod status with below 2 commands
$ kubectl -n kube-system get pod -o wide -l app=csi-nfs-node

$ kubectl -n kube-system get pod -o wide -l app=csi-nfs-controller
Output:

Create Kubernetes storage class.
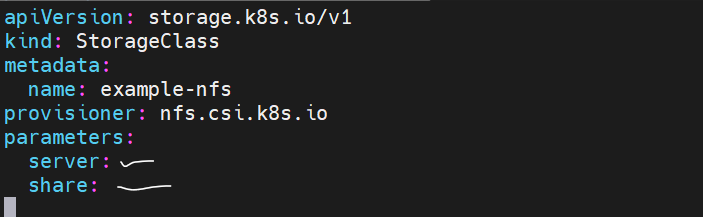
Edit file storageclass-nfs.yaml and configure nfs server and shared path in the below marked fields under the parameters section (server & share):
Create the storage class using below command:
$ kubectl apply -f storageclass-nfs.yaml

Make the storage class as default using the below command:
$ kubectl patch storageclass example-nfs -p '{"metadata": {"annotations":{"storageclass.kubernetes.io/is-default-class":"true"}}}'
Install Helm
Install helm using the below command:
$ cd helm

$ sudo cp helm /usr/local/bin/helm
Run command “helm version” to check its version
$ helm version
The output is as below:
version.BuildInfo{Version:"v3.14.3", GitCommit:"f03cc04caaa8f6d7c3e67cf918929150cf6f3f12", GitTreeState:"clean", GoVersion:"go1.21.7"}
Install Milvus Cluster
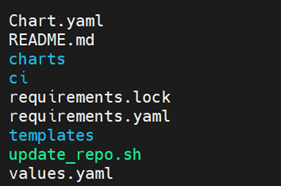
Enter the milvus directory where you will see the below files structure.
Here the file values.yaml by default fetched images from the dockerhub, you need to modify it for pulling from your private repository. For doing so , we have a script, update_repo.sh that will take registry_host and registry_port as arguments and it will update the values.yaml for modifying the repositories and imagePullSecret.
$ ./update_repo.sh <registry_host> <registry_port>
Edit values.yaml for accessing the Milvus service from outside the cluster.
By default, the milvus service is of type ClusterIP, change it to NodePort to access the milvus db using host IP and NodePort.
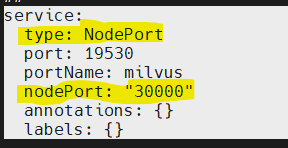
Change the above highlighted fields in values.yaml, type from ClusterIP to NodePort, and nodePort from “” to port of your choice > 30000. Eg, 30000
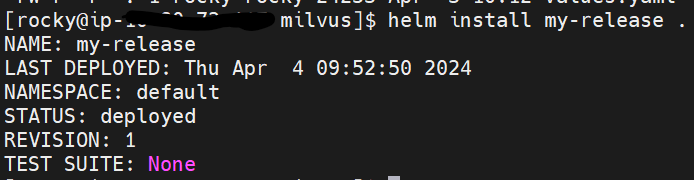
Install the Milvus cluster using below command.
$ helm install <release-name>
Replace
You will see the below output:
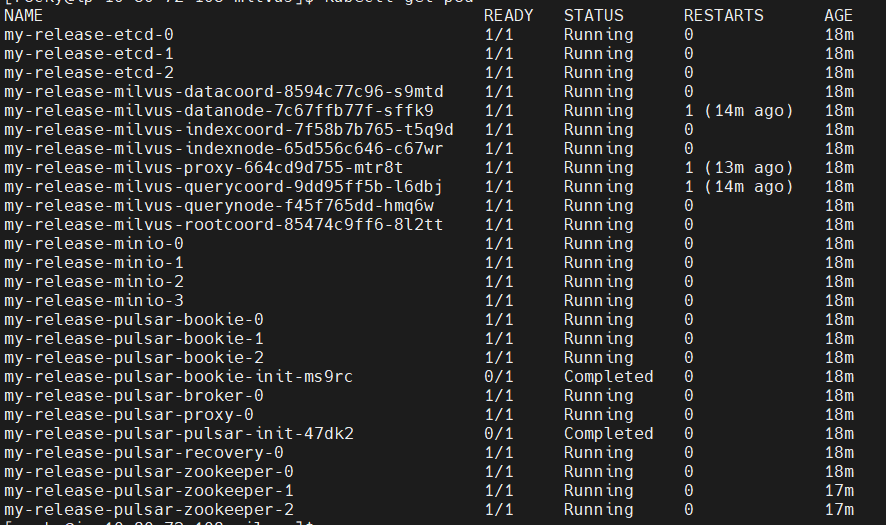
Check the status of the running pods.
$ kubectl get pods
After Milvus starts, the READY column displays 1/1 for all pods.
Check Access of Milvus Externally
In step 5, we have updated values.yaml file for NodePort service, hence we can use Node IP and NodePort to access milvus cluster externally.
List services of Kubernetes.
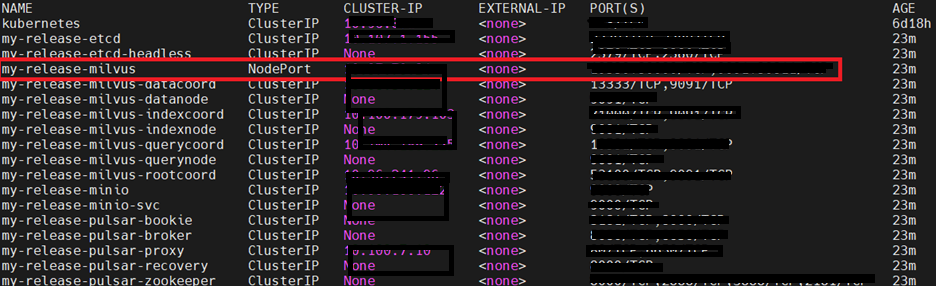
Here, my-release-milvus is a service of type NodePort and its corresponding NodePort is 30000 (configured in values.yaml).
Hence you can access using NodeIP and 30000 port, you can check it quickly by doing telnet on IP and Port.

If you see output Connected, then it is qualified as working fine.
If you have any feedback on Gathr documentation, please email us!