User Profile
This topic covers information that will help you to understand about the details that constitute a user profile in Gathr and steps to update or permanently delete a user profile.
User Profile
This page can be accessed by clicking the User Profile option available in the main menu.
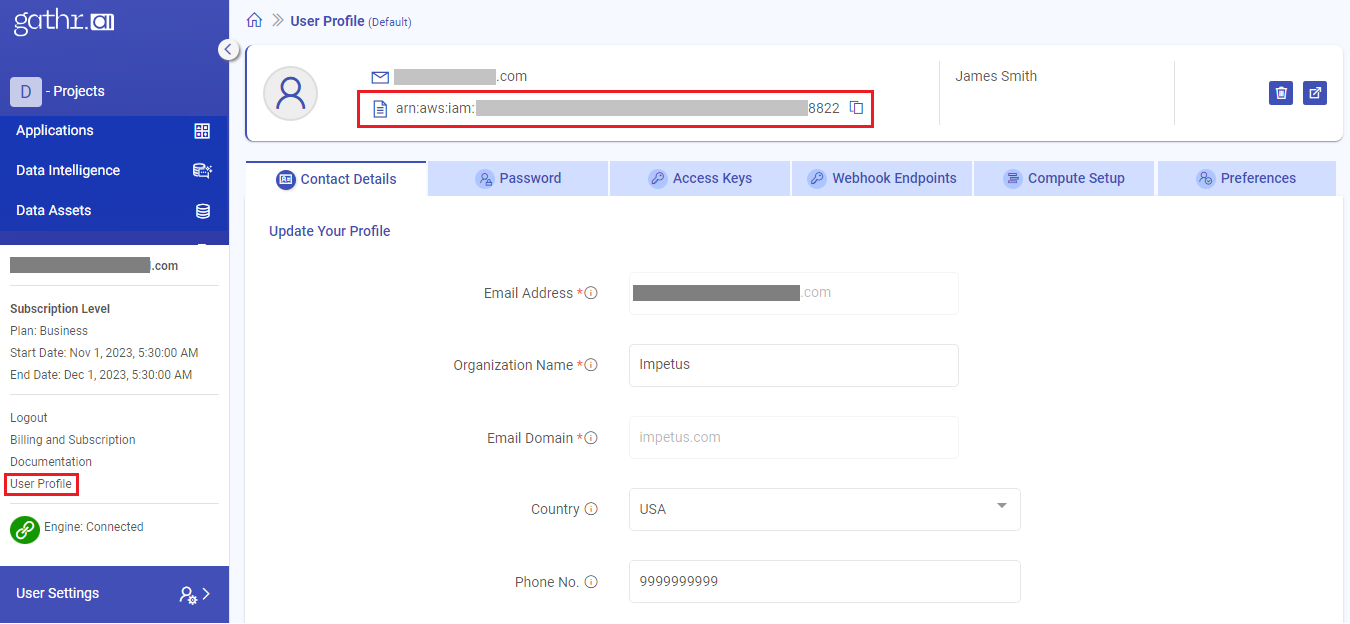
The tabs available on this page are - Contact Details, Password, SSH Keys, Compute Setup and Preferences.
Gathr Principal
At the top, user’s account details and ANR (Acquirer Reference Number) are displayed. There is a copy button through which the details for acquirer reference number can be copied in a single click, useful for managing account.
Contact Details
You can view and update your profile information under the Contact Details tab.
The contact details tab shows the following details:
| Field | Description |
|---|---|
| Email Address | The email address associated with the user. This field cannot be edited or updated. |
| Organization Name | The name of the organization the user belongs to. |
| Email Domain | The domain associated with the user’s email address. Org admins can add or remove domains here for organization management. |
| Country | The country associated with the user’s profile. |
| Phone No. | The contact phone number provided by the user. |
Click on UPDATE button to save the changes.
Change Password
You can change an existing password under the Password tab.
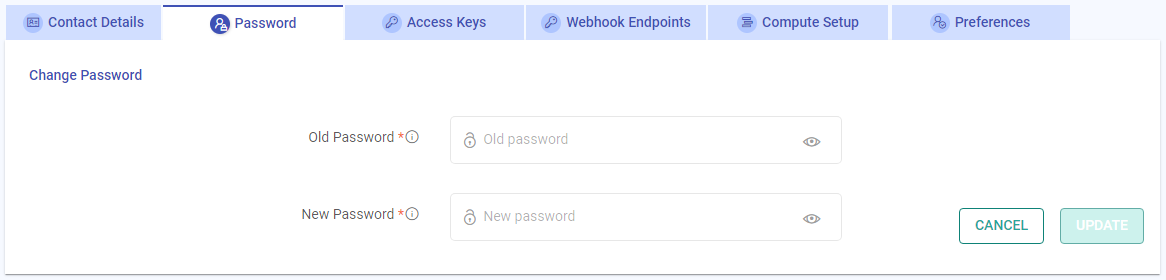
To change an existing password, simply provide the old password and a new password satisfying the password policy.
Click on UPDATE to save the changes.
Access Keys
You can generate the API key, SSH keys and the Data Warehouse Intelligence API Keys under the Settings > Advanced > Access Keys tab.
API Key
To understand how to generate Management API key and use it to perform various actions in Gathr, see Gathr APIs Introduction.
SSH Keys
To understand how to generate SSH keys and use them for creating SSH tunnel connections, see SSH Tunneling.
Data Warehouse Intelligence API Keys
To understand how to generate Data Warehouse Intelligence API Keys and use them to perform various actions in Data Warehouse Intelligence applications, see Data Warehouse Intelligence APIs.
Webhook Endpoints
To understand how to create Endpoints and utilize Gathr’s Webhook connector for ingesting real-time communication and automatic data exchange between web applications, see Webhook.
Compute Setup
You can add your cloud accounts in Gathr using compute setup tab, enabling you to run applications on clusters owned by the registered cloud accounts.
To understand the cloud platforms supported for setting up compute environments in Gathr, see Compute Setup →
Preferences
You can set the alert preferences that are offered under this tab.
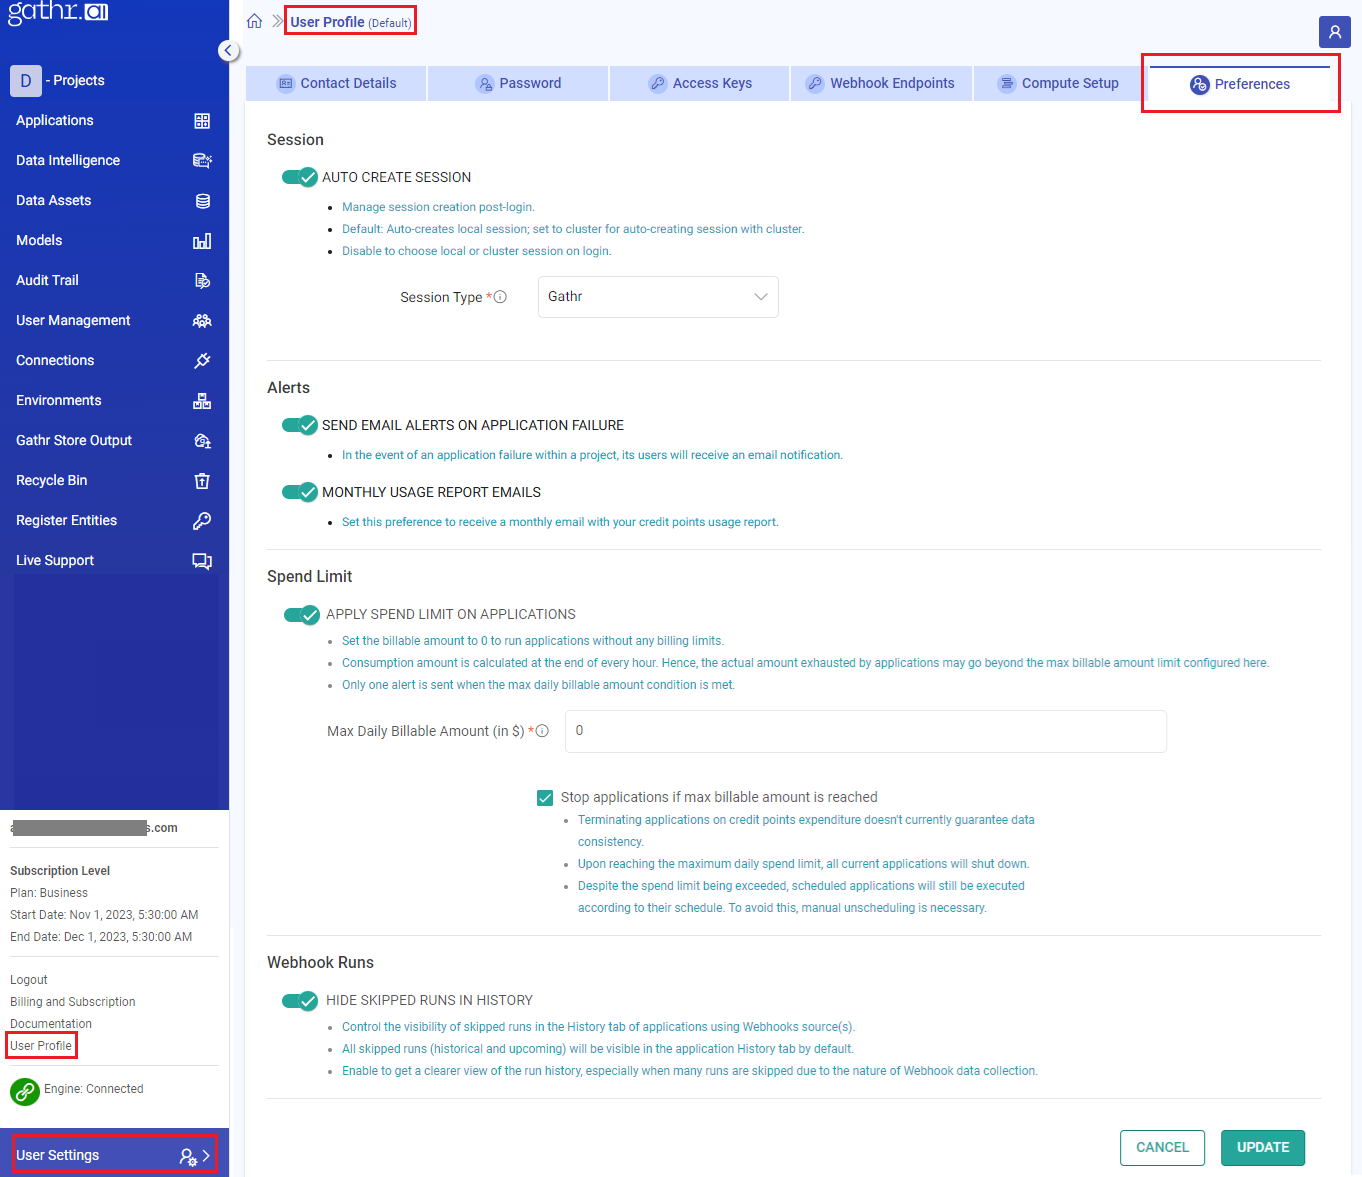
The options available under Preferences are explained below:
Auto Create Session
The Auto Create Session preference allows you to manage session creation immediately after login.
By default, this setting is set to automatically create a local session for users after login. You can configure it to auto-create a session with a cluster instead.
Disable it to select either a local or cluster session upon login.
Alerts
Send Email Alerts on Application Failure
Option to enable email alerts in case of application failures.
After enabling this setting:
In case of an application failure, the organization administrator and individual signed-up users will get email alerts for projects not shared.
In case of an application failure, the shared project users will get email alerts on the registered email address.
The organization invited users will only receive alert emails for the shared projects.
Monthly Usage Report Emails
Set this preference to receive a monthly email with your credit points usage report.
Spend Limit
Option to set a max daily billing amount post which an email alert should be triggered.
You can enable this option and set a maximum spending limit for daily consumption in dollars ($).
Key points about the spend limit feature:
Set the billable amount to 0 to run the applications without any billing limits.
Consumption amount is calculated at the end of every hour. Hence, the actual amount exhausted by applications may go beyond the max billable amount limit configured here.
Alerts are sent once a day when 80% and 100% of the set max daily billable amount is reached.
Stop applications if max billable amount is reached
This is an additional option to terminate all the active applications once the spend limit condition is met.
As soon as this option is enabled, a warning message will appear as shown below:
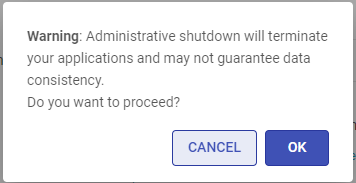
Act on the confirmation message as described below:
On confirming to proceed, the checkbox for stopping applications will remain selected.
If the confirmation is cancelled, the checkbox for stopping applications will be deselected.
If stop applications option is enabled:
Terminating applications on credit points expenditure doesn’t currently guarantee data consistency.
Upon reaching the maximum daily spend limit, all current applications will shut down.
Despite the spend limit being exceeded, scheduled applications will still be executed according to their schedule. To avoid this, manual unscheduling is necessary.
Click on UPDATE to save the preferences.
Webhook Runs
Control the visibility of skipped runs in the History tab for applications using Webhooks source(s).
All skipped runs (historical and upcoming) are visible in the application History tab by default.
Enable this option for a clearer view of the run history, especially when many runs are skipped due to the absence of events.
Gathr IQ Provider
Gathr IQ is an AI-powered tool for data processing and code generation using natural language inputs.
Configure the authentication method for the LLM provider that Gathr IQ will use.
Authentication Method
The authentication details for default LLM provider are managed by the system. If you prefer, you can configure self-managed LLM provider credentials.
You can choose to:
Use System-Managed LLM provider
Use Self-Managed LLM Provider
For Self-Managed LLM Provider, additional details for provider authentication are needed.
LLM Provider
LLM provider to be used for GathrIQ-powered features.
Supported providers are listed below:
Open AI
Ollama AI
Gemini AI
Azure AI
Connection Name
LLM provider’s connection name can be selected from the list, if created earlier. Or create using Add New Connection.
OpenAI
OpenAI Connection Configuration
Connection Name: Enter a name for the connection. Once saved, it will appear in the list of available connections.
API Key: The secret key to access the endpoint.
Steps to get the API key:
- Log in to the OpenAI platform.
Create an OpenAI account, if you don't already have one.- You can find existing key or generate a new Secret API key on the API key page.
Ollama AI
Ollama AI Connection Configuration
Connection Name: Enter a name for the connection. Once saved, it will appear in the list of available connections.
Endpoint URL: The endpoint of resource to be accessed.
API Key: The secret key to access the endpoint.
Steps to get the API key:
- Log in to the Ollama’s official website.
Create an Ollama account, if you don't already have one.Go to the API or API Keys section in the navigation menu. It may also be labeled Developer or Integrations.
Generate a new API key. Once the key is generated, it will be displayed on the screen. Copy and save this key securely.
Gemini AI
Gemini AI Connection Configuration
Connection Name: Enter a name for the connection. Once saved, it will appear in the list of available connections.
API Key: The secret key to access the endpoint.
Steps to get the API key:
- Log in to Google AI Studio using the Get API key link.
Create a Google account, if you don't already have one.- Click the Create API key option to generate a new API key. Once the key is generated, it will be displayed on the screen. Copy and save this key securely.
Azure AI
Azure AI Connection Configuration
Connection Name: Enter a name for the connection. Once saved, it will appear in the list of available connections.
Endpoint URL: The endpoint of Azure resource to be accessed. For example
https://.openai.azure.com/API Key: The secret key to access the Azure resource.
Steps to get the Endpoint and API key:
Login to the Azure Portal.
Navigate to Home > Azure AI Services > Azure OpenAI.
Select Resource Management.
Click on Keys and Endpoint.
Copy the Keys and Endpoint details for use.
Base Model Deployment Mapping
Model: Displays the supported model names for Gathr components. You may also enter another model or deployment name you use, allowing Gathr to automatically map it if supported in the future.
Deployment Name: Enter the deployment name as specified in your Azure OpenAI portal for the corresponding base model supported by Gathr. This is required for integration with the component to enable API calls.
Supported Models
Models supported by Gathr for the selected LLM provider are shown.
Delete Profile
To delete user and remove all rights associated, click the Delete Profile option available on the top right of the User Profile page.
If an individual user deletes profile:
It will delete all the connections and applications created by the user.
Any pending payments/invoices will be processed before completely deleting the user’s account.
Until then the account will be made inactive and the user will not be able to login.
If an organization administrator deletes profile:
It will deactivate the administrator’s account and accounts of all the signed-up users who were invited to join Gathr.
Delete all the saved connections and applications administrator and the other users created in Gathr.
Any pending payments/invoices will be processed before permanently deleting the above details.
If you have any feedback on Gathr documentation, please email us!